about

Two ladies who love food.

Wednesday, December 31, 2014

Bacon and Cheese Muffins


Bacon! Cheese! WHAT!? Those are two of my favorite things, add them into a savory muffin and you got breakfast to go. This is a quick and easy recipe. Follow along if you want your taste buds to be in heaven.

Bacon and Cheese Muffins 

Author: Paige
Difficulty: easy peasy!
Makes 12 muffins
Adapted from Company's Coming Muffin cookbook

Ingredients
  • 2 cups flour 
  • 2 tbsp sugar 
  • 1 tbsp baking powder 
  • 1/4 salt 
  • 1 cup grated old cheddar cheese 
  • 6 bacon slices cooked and crumbled (included is one for snack purposes) 
  • 1 egg
  • 1 cup of milk 
  • 1/4 cooking oil 
Directions
These are the ingredients you will need. I know, I know, I have a banana problem. Preheat the oven to 400F (200C).


Measure the first 6 ingredients into a large bowl. Stir thoroughly and make a well in the center. 


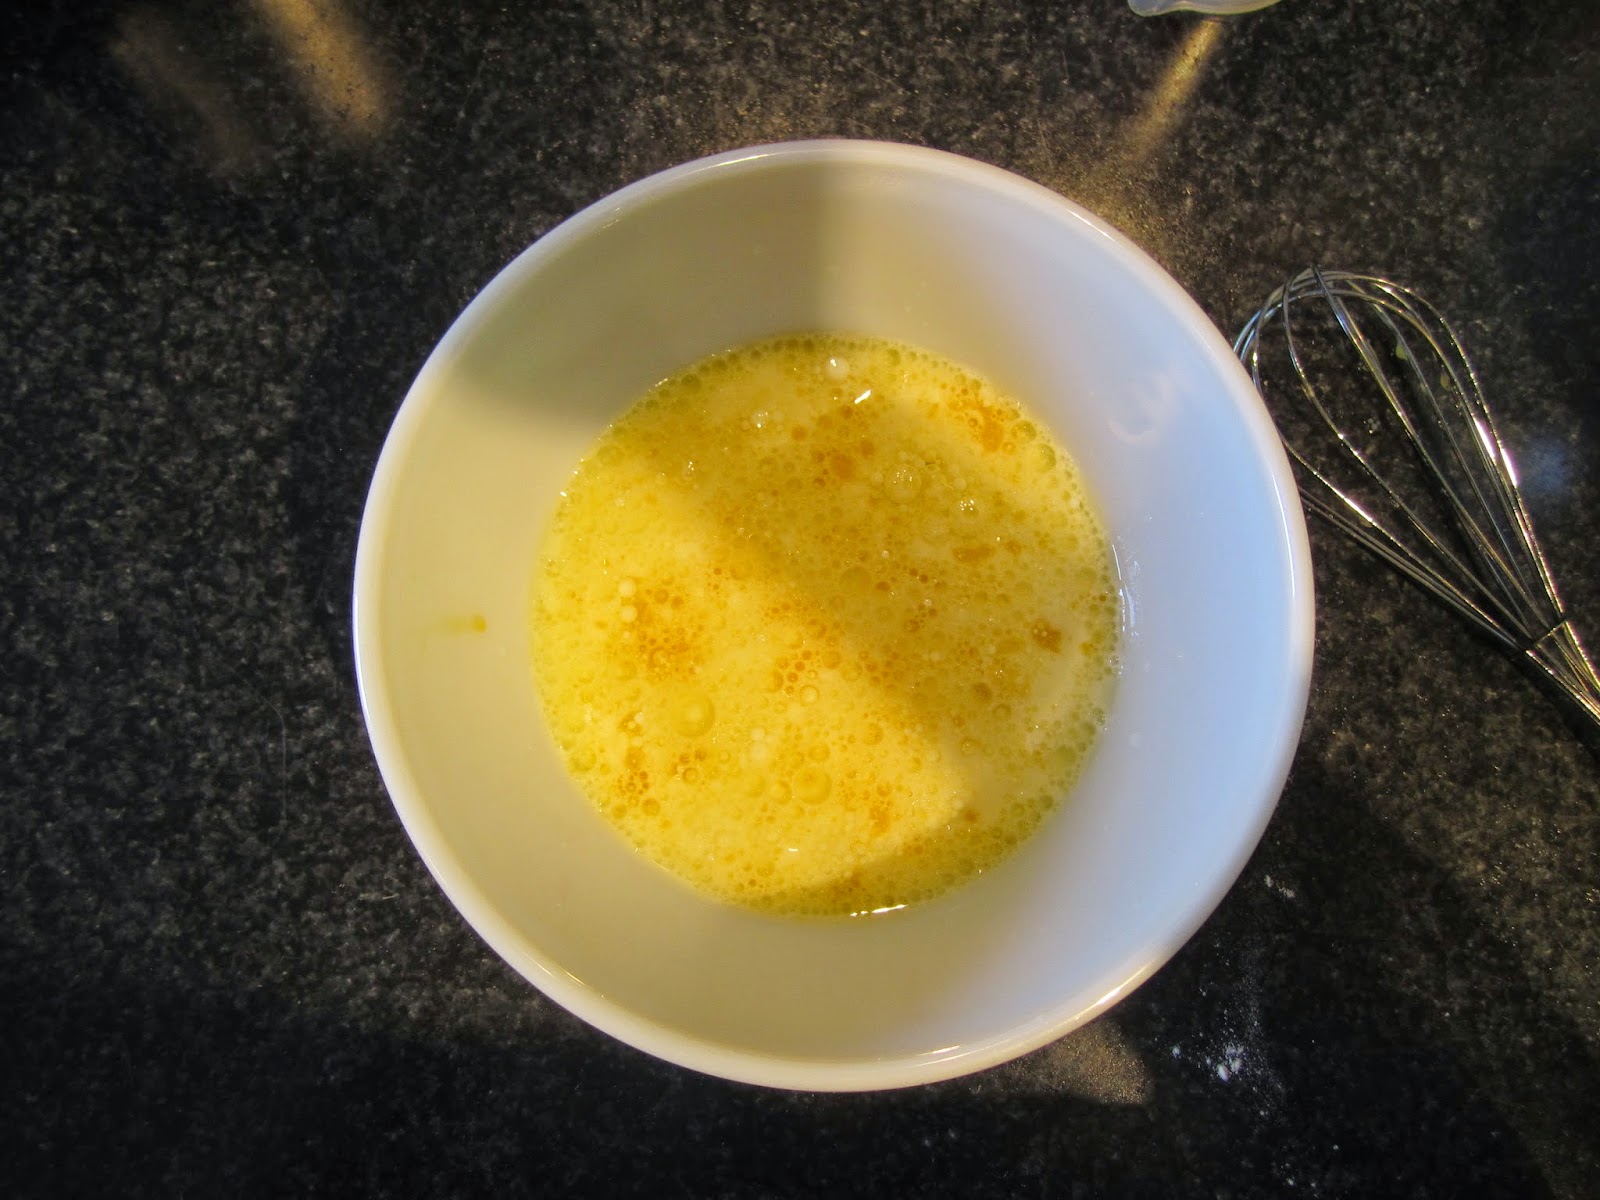
In a small bowl beat egg slightly with a whisk, add in milk and cooking oil. Pour in to the well you made in the large bowl. 


  Stir only enough just to moisten the batter. It will be lumpy and look not so great.  


Now, grease a muffin tin (don't use muffin liners) and evenly distribute the batter into a 12 hole muffin pan. Bake in the oven for 23-25 minutes. After removing from the oven, let them muffins sit for 5 minutes, transfer to a cooling rack. These taste best served warm! Told you that was easy. Happy new year!


Note: I used muffin tin liners which wasn't such a great idea, please grease your muffin pan. Enjoy!


Saturday, December 27, 2014

Green Juice 2


The green juice returns! In another rendition, but with that same base of pineapple, apple, cucumber, ginger, and jalapeno pepper that I know I can always count on. The herbs help the juice taste super bright, and as always, make this delightful green juice a satisfying treat.

Typically if I juice I use that juice in place of a meal, or have a small snack instead. I find fresh juice to be pretty filling, so generally that isn't an issue.


Green Juice 2

Author: Amanda
Difficulty: easy
Serves: one large glass or two small glasses

Ingredients
  • 1/4 fresh pineapple
  • 1 green apple
  • 1 jalapeno pepper
  • 1 inch segment fresh ginger
  • 1/2 field or English cucumber
  • 1 bunch fresh spinach
  • 1/2 bunch cilantro
  • 1/2 bunch parsley

Directions
Cut the top and bottom off the pineapple and peel. Quarter pineapple, leaving core in place. Wash produce, and remove the top segment of the jalapeno pepper. Pick through spinach and herbs to ensure it is all fresh and edible. Juice per juicing machine capabilities. Serve immediately.

Step-by-Step Photos


Peel and quarter the pineapple, and wash and prepare all of the ingredients. I also removed some of the stems from the spinach because they didn't look the best. Once you start juicing, it moves quickly so it is best to have everything all ready to go.


Juice ingredients, adjusting settings per juicer.


Pour from juicing pitcher to glass, doing your best to keep the scum from pouring into the glass.


Serve immediately.

Tuesday, December 23, 2014

Bacon & Goat Cheese Risotto


I love risotto, and am always on the lookout for new combinations to try. I feel like it's one of those foods you can easily impress people with and trick them into thinking you are super fancy, when in actuality, it's almost outrageously easy to throw together. The most difficult part of risotto making is standing there and babysitting it while it cooks, and turns plain rice and broth into a fantastical rich, starchy, cheesey treat.

The two most particular things when it comes to making risotto are making sure that you have the appropriate rice (look for risotto rice or Italian style rice in the store. It may be in the ethnic food aisle or with the rest of the rices) and the temperature of the stock you are adding to the risotto as it cooks. If the stock is cool or room temperature, it will take longer to cook, so I typically heat up my stock beforehand so that the cooking process is as efficient as possible.


Bacon and Goat Cheese Risotto
Author: Amanda
Difficulty: intermediate
Serves: 4 main portions, 6 side portions (approximately)

Ingredients
  • 1 cup dry risotto rice
  • 1 cup white wine
  • 1 red onion
  • 2 cloves garlic
  • 1 teaspoon dried thyme
  • 1/2 package 500g bacon or most of a 325g package
  • 100g soft goat cheese, or about 4 tablespooons
  • 2-4 cups chicken stock, as required

Directions
Slice bacon into small segments and pan fry until crispy. Remove from pan, and set aside. Drain bacon grease into appropriate receptacle, reserving some leftover in the pan. Mince the garlic and slice the onion into half-moons. Caramelize the onion in the bacon grease on medium-low heat, stirring often, until onions are brown in colour and very soft, for approximately 15-20 minutes. Once the onions are caramelized, add the minced garlic and thyme. Add the dry risotto, and one cup of white wine. Once the wine has mostly evaporated/been absorbed, add chicken stock about 1 cup at a time, stirring constantly on medium heat. Continue to add chicken stock in 1/2-1 cup increments until risotto is soft. Turn off the heat, add the crispy bacon and goat cheese and combine well. Serve.

Step-by-Step Photos


Slice the bacon so that the pieces will fry evenly and are about the same size. I typically halve a package of bacon down the middle like this, and save the other half for future use. However, if you only have a 375g package of bacon (which seems to be the new standard), you could probably use most if it not all of it.


Start frying up the bacon pieces on medium heat until they are crispy.


After washing off that cutting board because cross-contamination is super gross, mince the garlic and slice the red onion into half-moons.


Set aside the crispy bacon pieces until the risotto is ready for them. I didn't bother blotting off the extra grease because I am an animal.


This was the grease I poured off the pan. I never throw out bacon grease - it is super delicious to fry pretty much anything in (especially eggs). I will also use it to make my own refried beans.


Reserving some grease in the pan (I would guessitmate 2-3 tablespoons), turn the heat back on to medium-low and add the red onion.


Stir the onion slices frequently, until they start to turn brown in colour. This will take 15-20 minutes, so be patient. Caramelized onions are delicious and have a sweetness to them, and because these were fried in the bacon grease, they also have that delicious bacon smokey-ness in them too. Drool.


Once the onions are caramelized, add the minced garlic and dried thyme.


Add the dry risotto rice and cup of white wine, and turn the heat up to medium. (I forgot to take a picture of the wine, so you will have to forgive me.) From here on out, you will want to be stirring the risotto pretty frequently, and ensure that it doesn't stick to the bottom of the pan.


Add (hot) chicken stock in increments of 1/2-1 cup at a time, while continuing to stir very frequently. The best way to tell when the risotto is done is to taste it - if it is still crunchy you need to keep going. Once you have reached a desired consistency, turn off the heat.


Return the crispy bacon pieces to the risotto, and stir well to combine.


Add the goat cheese, and stir well to incorporate.


Serve garnished with additional goat cheese, if desired. And of course the wine you used for the risotto would pair with it excellently.

Wednesday, December 17, 2014

Butternut Squash Soup


This is the soup I ended up using the Indian Inspired Vegetable Broth for, and I was pleased that the bitterness I was worried about did not come forth in this soup. However, if I had to do it again I would use less butternut squash. The grocery store had smaller squash than what I was hoping for, so I ended up using two. One and a half squash or one large squash would have been perfect, I feel. Hindsight is 20/20 I suppose.

This is a wonderfully hearty soup, and is very filling. It does take a little more prep work with roasting the squash beforehand, but if you don't you risk having a watery, much less flavourful meal. I also find that roasting the squash softens it enough to make it infinitely easier to work with.


Butternut Squash Soup
Author: Amanda
Difficulty: easy
Serves: 8+

Ingredients
  • 2 medium butternut squash (or one large)
  • vegetable oil, for roasting squash
  • 1 yellow onion
  • 2 cloves garlic
  • 1 jalapeno pepper, deseeded
  • 2 inches fresh ginger
  • 1 recipe Indian Inspired Vegetable Broth
  • 1.5 cups heavy cream
  • 2 tablespoons butter
  • 1 teaspoon cinnamon
  • salt and pepper, to taste

Directions

Split the squash lengthwise and scoop out the insides. Brush with vegetable oil and roast in the over at 350F for approximately 1 hour, or until easily pierced with a fork. Allow to cool, then peel and cube the squash. Dice the onion and jalapeno and mince the garlic and ginger. Saute in butter over medium heat for 5-7 minutes, until the onions are soft and translucent. Add the cinnamon and combine well. Add the cubed butternut squash and broth, bring to a boil, and simmer partially covered for 20 minutes. Turn off the heat to puree the soup, add the cream and heat through. Serve. Leftovers may be kept in the fridge for up to 5 days.

Step-by-Step Photos


Split the squash and use a sturdy spoon to scoop out the seeds and goop (I believe that is the technical term). I think this is the hardest part of the recipe, so once this is down you are good to go.


Brush all exposed squash flesh with vegetable oil and roast at 350F for about an hour. The squash will soften and turn a lovely golden colour and be super delicious.


While the squash is roasting, you can prepare everything else. Deseed and dice the jalapano (though you could leave the seeds in if you wanted a pretty spicy soup), dice the onion, mince the garlic, and ginger. Typically I put the ginger through a microplane, but since the entire soup is about to be pureed, it is not really necessary.


Once the squash is cool enough to handle, peel and cube it up. I used a knife and wasn't too picky on keeping the peel as thin as it could have been, but there was still (way more than) enough squash for the soup. Roasting also makes peeling the squash a dream in comparison to working with it raw.


Melt the butter over medium heat in a large pot.


Saute the vegetables and aromatics in the butter until the onion is soft and translucent, about 5-7 minutes.


Add the cinnamon. You'll want to stir it together pretty well so it doesn't stick to the bottom of the pot. As a side note, I absolutely love the smells of butter + onions + cinnamon. It doesn't get better than that.


Add the cubed butternut squash and vegetable broth.


Bring the soup to a boil, then turn down the heat to maintain a simmer for 20 minutes with the lid cracked open to allow steam out. Now the soup is ready for pureeing.


Turn off the heat and either blend with an immersion blender or a regular blender carefully to avoid splatter.


Add the heavy cream, salt, pepper, and heat through. I ended up using 1/2 teaspoon of salt.


Serve. As you can see, I unfortunately had lost the good natural lighting at this point (curse you, winter months!) so the soup appears more brown than it actually is. That's okay though, the picture-taking is always a work in progress for me. Enjoy!

Saturday, December 13, 2014

Indian Inspired Vegetable Broth


The idea for this broth came to me as I was just about to fall asleep, but I managed to mostly write it out as a note for myself. I've mentioned before that I keep a baggie int he freezer to save my vegetable scraps for vegetable stock making, and at this point my bag was 100% onion scraps. I thought it would work perfectly with Indian spices to make a great base for a future soup. I also had a couple tomatoes I had diced up and thrown in the freezer, but a small can of diced tomatoes (or half a large 28oz can) would work just fine.

In hindsight, there were probably too many onion skins in this broth for my liking. I would probably limit the recipe to 3 cups of onion scraps in the future, and add a whole onion to the mix to help offset some of the bitterness I found in the final product. If nothing else, the broth smells amazing while it simmers, which is probably why I was so surprised at the bitter taste. Luckily the bitterness did not make it into the soup I ended up using the broth for, but there is always room for improvement.


Indian Inspired Vegetable Broth
Author: Amanda
Yield: approximately 1.5L broth
Difficulty: easy

Ingredients
  • 6 cups onion scraps and skins
  • 3 diced tomatoes, or half a large can of diced tomatoes in juice
  • 1 cinnamon stick
  • 2 inches fresh ginger
  • 2 whole cloves garlic
  • 2 bay leaves
  • 1 teaspoon black peppercorns
  • 1 tablespoon butter
  • 6 cups water
  • salt to taste

Directions
Heat butter in a medium sized pot on medium heat until foamy. Add onion scraps and saute until softened. Add the rest of the ingredients and bring to a simmer. Simmer for 45 minutes, strain broth into mason jars or other heat-proof containers, and allow to cool. Store in the fridge for up to 5 days or keep in the freezer for up to 6 months until ready to use.

Step-by-Step Photos


Heat butter in a medium sized pot until foamy.


Add onion scraps to the butter, and saute until softened (and in my case, thawed).


Throw everything else in the pot and bring it up to a simmer.


Simmer uncovered for 45 minutes, stirring occasionally, then turn off the heat. I didn't take pictures of me straining out the vegetables. Mostly because it was pitiful and terribly messy. Forgive me. Sometimes I wonder how I am an adult.


Transfer broth to alternative containers until ready to use. I didn't salt the broth until this stage, and I found it took less than I thought - maybe 3/4 teaspoon altogether.

Thursday, December 11, 2014

Mango Salsa


This was a delicious joint effort between Paige and I. I had recently gotten into canning this fall, after realizing that canning doesn't have to mean making a bajillion cans of something at once. Small scale canning exists, and it is perfect for both of us. We enjoy making an afternoon out of canning, so this is something we are trying to get together to accomplish on a somewhat regular basis. This mango salsa isn't too spicy, and is great with tortilla chips, or thrown onto some chicken or fish before being baked in the oven.

Canning is one of those things I found incredibly intimidating until I did it myself, and realized there's not too much to it. It's fun! There's nothing quite like that satisfying pop! of the canning lids sealing after all of your hard work. The only unfortunate aspect of canning is that it does require some extra equipment - canning pot, jar holder, probably a wide mouth funnel, and well, mason jars of course. But once you get started it's easy to want to can everything in sight. (For me, anyways.)

Note: the written instructions are tailored to our altitude, which is an important factor in canning. You can find a handy reference for your altitude and canning times here.


Mango Salsa

Author: adapted from Food in Jars
Difficulty: easy
Makes approximately 6 500mL jars

Ingredients
  • 6 cups chopped mango
  • 1 red onion
  • 1 red bell pepper
  • 1.5 cups white vinegar
  • 3/4 cup white sugar
  • 3 Thai chilies
  • 1/2 bunch cilantro
  • 1 lime
  • 3 cloves garlic
  • 1 teaspoon ground cumin

Directions
Fill canning pot with enough water to cover jars, place empty jars without lids or rings into the pot, and bring to a boil. Place jar lids in a small pot or saucepan and simmer on low heat. Ensure mango is diced small, and dice the red onion and bell pepper. Mince the garlic, chilies, and cilantro, discarding cilantro stems. Zest and juice the lime, and bring all ingredients to a boil in a large pot. Lower heat to a simmer for approximately 10 minutes. Remove jars from the hot water bath, and quickly work to ladle hot salsa into the hot jars, leaving approximately 1/2 inch headspace in the jars. Wipe the rims, apple the lids and rings, and boil in the hot water bath for 10 minutes + 10 minutes for altitude. After the processing time is complete, remove the pot from the heat and remove the lid, allowing the jars to sit for an additional 5 minutes before removing, to prevent salsa from bubbling out of the jars (reacting to a rapid temperature change). Remove the jars from the pot and place on kitchen towels until cool.

Step-by-Step Photos


Place canning jars into a canning pot and bring to a boil, and simmer lids on low heat. Dice the mango, onion, and bell pepper. Zest the lime. Mince the garlic, cilantro leaves, and Thai chilies. We used a large bag of frozen mango chunks that we allowed to thaw and then diced a little smaller. Initially we thought we would need more bell pepper and onion, but it turns out one of each was sufficient.


Throw all of those ingredients into a large pot and add the sugar, lime juice, and vinegar. Also add the cumin.


Bring the salsa to a boil, then reduce to a simmer for about 10 minutes. It should look relatively thick and not watery. You can also adjust the spice and vinegar here if desired.


Remove the jars from the water bath (dumping the water in the jars out, of course), and place on two layers of kitchen towel to mutually protect the jars and the counter top. Working quickly, add the hot salsa to the jars, leaving about 1/2 inch of room so that the jars don't crack.


Add the lids from their simmer and seal until "finger tight" with the rings.


Return the jars to the boiling water bath.


Process in boiling water bath for 10 minutes (we boiled for 20 because of our altitude) with the pot covered.


When the processing time is complete, remove the pot from the heat and remove the lid. Wait five minutes, and then remove the jars from the pot.


Allow to cool on the double-layer of kitchen towels. As they cool, you should start to hear the pop! I love so much.


Store until ready to use. The salsa will keep for at least six months.