about

Two ladies who love food.

Sunday, December 7, 2014

Roasted Red Pepper & Tomato Bisque


Soup season has hit with full force. And if it weren't for the snow and the miserable cold winds that take your breath away, I would be totally fine with that. I love soup. If I am not sure what I want to eat, I will usually throw together a soup of sorts and it ends up being exactly what I wanted after all. I think part of the reason I love soups are because they are easy to make, are perfect for a one-container-lunch, and it's a handy way to sneak in leftovers that you may have sitting around. For this recipe, my boyfriend had bought too many tomatoes and I needed a quick way to use them up before they became unusable. Soup to the rescue!

Broiling the red pepper and fresh tomatoes adds an extra depth of flavour that just can't be replicated if you skip it. I added a can of diced tomatoes to help bulk out the soup and help the cost factor, but you could easily double the fresh tomatoes and roast them as well for an even more pronounced roasted flavour that I am sure would be amazing. Heck, if you've got an extra bell pepper hanging around, throw that in too! The roasting itself a little fussy and requires a little more prep time, but I promise the end result is worth it.

I also keep a medium sized freezer bag in my freezer for vegetable scraps I collect as I cook. Every few weeks it is full enough for a new batch of vegetable stock. I made my own stock for this recipe using onion, carrot, and celery scraps simmered with bay leaves and peppercorns for around 45 minutes. It's a fantastic way to make something useful out of what was just going to go into compost/trash, since it's virtually free. You can make vegetable stock with just about any leftover vegetable scraps, but I tend to steer away from stronger flavours such as peppers, kale, broccoli, and the like. And you can't go wrong with the classic triad of celery, onion, and carrot. However, in lieu of fresh vegetable stock for this recipe, you can easily substitute prepared vegetable or chicken stock.


Roasted Red Pepper & Tomato Bisque
Author: Amanda
Serves 6+
Difficulty: easy

Ingredients
  • 5 tomatoes on the vine
  • 1 red bell pepper
  • vegetable oil, for broiling
  • 1 28oz/796mL can diced tomatoes
  • 1 yellow onion
  • 2 cloves garlic
  • 2 tablespoons butter
  • 3.5 cups vegetable broth
  • 1 cup heavy cream
  • salt and pepper to taste
  • 1/4 teaspoon cayenne pepper (optional)

Directions
Wash the bell pepper and tomatoes, slice in half and place sliced-side-down onto a baking sheet lined with foil. Brush the exposed skins with vegetable oil, and broil on high until skins are blackened and bubbly. Remove vegetables from tray when cool, peel, and roughly chop. Dice the onion and mince the garlic. Melt the butter in a large pot over medium heat and saute onions and garlic until soft, about 5 minutes. Add peeled peppers, tomatoes, can of diced tomatoes, and vegetable broth. Simmer for 15 minutes and use an immersion blender to puree soup. If not using an immersion blender, blend in small batches with a towel over the blender and return to pot on low heat. Add heavy cream, salt, pepper, and cayenne to taste. Turn off heat when heated through and serve.

Step-by-Step Photos


Wash your produce and slice the pepper and tomatoes in half, place face down on a foiled baking sheet, and brush with vegetable oil. The oil helps to ensure a more even roasting and also helps speed up the process. If the pepper membranes (white part) are easy to pull out, you can do that here too. Otherwise, you can do it after they are roasted.


Broil on high in the oven. Every oven is different, so you will have to keep a fairly close eye on the vegetables. I ended up broiling mine for about 10 minutes.


Once blackened and starting to bubble, remove the vegetables from the broiler and allow to cool. I probably could have left mine in the broiler for a couple more minutes, but I am impatient. It's a character flaw that often finds its way into my cooking escapades.


While the peppers and tomatoes are broiling and cooling, dice the onion and mince the garlic.


Once the tomatoes and peppers have cooled, you can peel them. I found the tomato skins peeled off like a dream compared to the peppers, so just do the best you can. Discard the skins and give the flesh a rough chop.


Melt the butter in a large pot or Dutch oven over medium heat, and add the onions and garlic once the butter is foamy.


After the onions and garlic have softened and are fragrant, add the skinned and chopped peppers and tomatoes to the pot, as well as the can of diced tomatoes in their juices.


Add the vegetable stock, and bring to a simmer (small bubbles breaking the surface).


Simmer, partially covered, for about 15 minutes. Remember to stir occasionally.


After the soup has simmered, remove the cover and turn off the heat prior to blending.


Blend soup until no large chunks remain. I adore my immersion blender and use it often, but if you only have a regular blender, here's a guide from America's Test Kitchen on how to blend your soup safely.


Stir in the heavy cream. I used full-blown whipping cream for this soup, but I had it leftover from a previous recipe. I wouldn't use anything less than 18% cream (coffee cream) in the soup, because the acidity of the tomatoes can make it curdle. I have tried making tomato soups before with half-and-half, and it always curdles. It still tastes really good, but it will look grainy. The fat content prevents the curdling even when reheating the leftovers. It's worth it.


Add salt, pepper, and cayenne to taste. I put cayenne or crushed red pepper in EVERYTHING. Some may consider it another character flaw. I ended up adding 1 teaspoon of salt, but I also left my vegetable stock fairly unsalted so I could perfect the salt to my taste. You may not need any if you are using prepared stock.


Serve.

Wednesday, December 3, 2014

Simple Slow Cooker Apple Cider


Cider is the perfect drink for fall and winter. It's warm, cozy, sweet, and spicy. I couldn't ask for anything more. This cider recipe is pretty basic and can be easily doubled, which I feel is part of the appeal. Adding a cup of fresh or frozen whole cranberries, spiced rum, caramel-flavoured vodka, or even brewed green tea would be excellent add-ins. And because it's in the slow cooker, this recipe is virtually effortless to throw together and let sit while you spend your time doing other things (or compulsively opening the lid to take a big smell, but maybe that's just me).


Slow Cooker Simple Apple Cider
Author: Amanda
Serves: 4-6
Difficulty: easy

Ingredients
  • 1 can frozen apple juice concentrate
  • 2 inches fresh ginger
  • 1 cinnamon stick
  • 5 whole cloves
  • 1/2 teaspoon ground nutmeg
  • 1 tablespoon brown sugar
  • water

Directions
Add can of apple juice concentrate, brown sugar, spices to slow cooker. Add water as directed on can of juice concentrate plus one additional can of water to slow cooker. Turn on slow cooker on high for 2 hours or on low for 4. Strain out whole spices with slotted spoon or strainer and serve.

Step-by-Step Photos


Peel the ginger and leave in large pieces so that it's easier to remove. Add everything to the slow cooker and turn on high for 2 hours or low for 4 hours.


Once the time is up, remove the add-ins (though in the case of fresh cranberries I would leave them in, if I used them. They're so pretty!). You can leave the slow cooker on warm or low while serving. The missing clove in the picture is because I didn't bother straining out my spices, which in hindsight is a good idea for ease of serving.


Serve, and enjoy. Just the right amount of spicy, and warms you to the core.

Saturday, November 22, 2014

Brewed Iced Tea


I debated making this post because it hardly feels like a recipe - there is almost no effort required! But this iced tea is reminiscent of the sun tea my mom used to make while I was growing up, and it is a staple in my life now. And honestly, I don't even care that it breaks every rule in the proper tea-drinking book. It's delicious, and that's enough for me. I can drink it all day long without guilt, since there is just enough sugar in it to take out the edge off from the over-steeped tea tannins. This is a great drink if you are wanting to cut out or reduce the amount of pop you drink, but aren't a huge fan of plain water.

Typically, I double this recipe, so these proportions can be adapted to suit your needs. I have also had great success by substituting the orange pekoe for Twinnings Earl Grey. I find bottled lemon juice in this drink to taste the best. I have used fresh lemons before... and honestly, it's not the same. But, feel free if you prefer the taste of fresh lemon juice yourself.


Recipe
Author: Amanda
Difficulty: easy
Makes 1 litre

Ingredients
  • 2 orange pekoe tea bags
  • 2 tablespoons white sugar
  • 2 tablespoons lemon juice
  • 1 litre boiling water
Directions
Place tea bags in heat-proof glass or plastic pitcher. Add boiling water, and let steep at least two hours. Remove tea bags, add sugar and lemon juice. Stir well. Chill well before serving.

Step-by-Step Photos


Toss a couple tea bags in a heat-resistant pitcher or glass jar. Super easy!


Bring a litre of water to boil.


Add the boiling water to the tea bags. Also easy!


Steep for at least two hours. It's totally okay if you let it sit for even longer - I actually forgot about this until the next morning. It's still delicious.


Remove the tea bags so you can add the sugar and lemon juice. Stir well, or all the sugar will sit at the bottom.


Serve well chilled. This ice tea is my addiction. I really can't get enough. Ever.

Wednesday, November 19, 2014

Homemade Coconut Milk


BPA free sound good? Homemade sound fun?! Let's make some homemade coconut milk! I have become sick of buying canned coconut milk as it seems expensive for what you really get, so I grabbed a 2 KG bag of unsweetened shredded coconut at costco for $11 and decided to make my own.


Difficulty: easy peasy
Author: adapted from wellness mama.

Ingredients 
  • 2 cups unsweetened coconut 
  • 4 cups water 


Directions


Place 4 cups of water and 2 cups of unsweetened shredded coconut into vitamix. Turn that baby on slowly working up to ten speed then flipping the ultra power switch.


Blend for about 5 minutes or until thick and creamy.


Next, grab a large bowl and a strainer. Pour coconut mixture into strainer a little bit at a time being careful you don't over fill it. Once you've separated the fiber from the liquid you have coconut milk!


Put the coconut milk into a mason jar and place in the fridge for up to three days. Use it to make coconut rice, banana coconut smoothies and tons more. Enjoy. 


Tuesday, November 18, 2014

Green Juice 1


Last year, my wonderful boyfriend got me a juicer for my birthday. It is so much fun to play with, and fresh juice has incorporated itself into my diet on a somewhat regular basis. I go through fits and starts with juicing - because so much produce is used for one serving of juice, I try to make juices from what I find on sale. This week, I was in luck! Pineapples were on sale for $2, and I found a discounted bag of Shanghi Bok Choy that was on the cusp of usability. I've grown fond of the after-bite a jalapeno pepper and fresh ginger add, so they tend to be staples in my juicing habits. All in all, this juice cost less than two dollars a serving, which is a steal compared to a juice bar.


Recipe: Green Juice 1
Difficulty: easy
Author: Amanda
Serves: one large glass or two small glasses

Ingredients

  • 2 bulbs Shanghi Bok Choy (or any kind of bok choy)
  • 1/4 fresh pineapple
  • 1 green apple
  • 1/2 field cucumber
  • 1 jalapeno pepper
  • 1 inch segment fresh ginger

Directions
Separate and wash bok choy leaves well. Cut off the top and bottom ends of the pineapple, peel, and quarter with the core intact. Wash the cucumber and apple, and cut in half. Trim the top end off the jalapeno pepper, and cut an approximately one inch segment off the fresh ginger. Put all items through the juicer on appropriate settings for firmness, and serve immediately.

Step-by-Step Photos


Rinse, separate, and prepare everything for the juice. Once you get started, it moves really quickly so you need to have everything ready to go. Every juicer is a little different, so how big you can leave your fruits and veggies is dependent on what machine you are using.


Juice ingredients, adjusting juicer settings depending on item firmness. I usually try to start with the apple or cucumber because of the high water content - that way the bok choy can get sandwiched between the other ingredients. I don't know if that actually is more effective, but it makes me feel like it is. So that's what I do.


Pour juice from receptacle to a glass, while attempting to keep the foam from the glass. Fresh juice foam tastes a little scummy to me and has an odd texture, but if you like it you can go ahead and drink that too.


Serve immediately. Fresh juice may start separating if left alone for a few minutes, so I usually use a straw or a spoon to stir it occasionally as I drink it. I found this juice filling, refreshing, and with a nice kick at the end from the jalapeno. Delicious.

Saturday, November 15, 2014

Whole Wheat Walnut Tea Biscuits


Baking was my introduction to being on my own in the kitchen. There's something just so inherently satisfying about taking some very basic ingredients, mixing them together in a certain way, apply heat, and like magic, you have something delicious instead. It's like science you can eat. I don't bake as much anymore unless I know I'm having company over or will bring my treats to work to share, but these tea biscuits were the perfect vehicle for the Caramel Pear Butter Paige and I made last month. I try to use whole wheat at least in part whenever I bake to help offset the empty carb ratio. Either way, the whole wheat adds a nice "rustic" feel to the biscuits, and I added the walnuts which are a welcome crunch.


Recipe
Makes about 20 biscuits
Author: adapted from Joy of Cooking
Difficulty: easy

Ingredients
  • 1 cup whole wheat flour
  • 3/4 cup all-purpose flour
  • 2 teaspoons sugar
  • 2 teaspoons baking powder
  • 1/2 teaspoon baking soda
  • 3/4 teaspoon salt
  • 1/2 cup chopped raw walnuts
  • 1/3 cup butter or shortening
  • 1 cup sour cream or buttermilk

Directions
Whisk together dry ingredients in a bowl. Cut butter into dry ingredients until consistency of small crumbs. Stir in chopped walnuts. Stir in buttermilk with a fork, stirring just until the dough comes away from the sides of the bowl. Turn the dough out onto a lightly floured board. Knead gently and quickly, 8-10 times. Roll out with a lightly floured rolling pin to beween 1/4-1/2 inch thick. Cut into buscuits, and place on ungreased baking sheet. Bake at 450F until lightly browned, 12-15 minutes.

Step-by-Step Photos


I didn't have any buttermilk or sour cream on hand, so I just made some pseudo-buttermilk that is suitable for baking. Measure out one cup of milk, and add one teaspoon vinegar. Apparently apple cider vinegar can affect the taste (I didn't notice for this recipe), but white vinegar is perfect. Add the vinegar, give the milk a brief stir, and let sit until ready to add to the dry ingredients.


Add dry ingredients into a medium mixing bowl, and whisk together.


Add the butter, cold, and use a pastry blender or two knives to cut the butter into the dry ingredients until it has a crumbly consistency.


Add the half cup of chopped walnuts, and stir to combine.


Make a well in the dry ingredients and add the buttermilk, which should have sat for long enough by now if you made it yourself.


Use a fork to stir the mixture just until combined and pulls away from the edges of the bowl. If you over-stir, you risk having tough-tasting biscuits, which is simply no good at all.


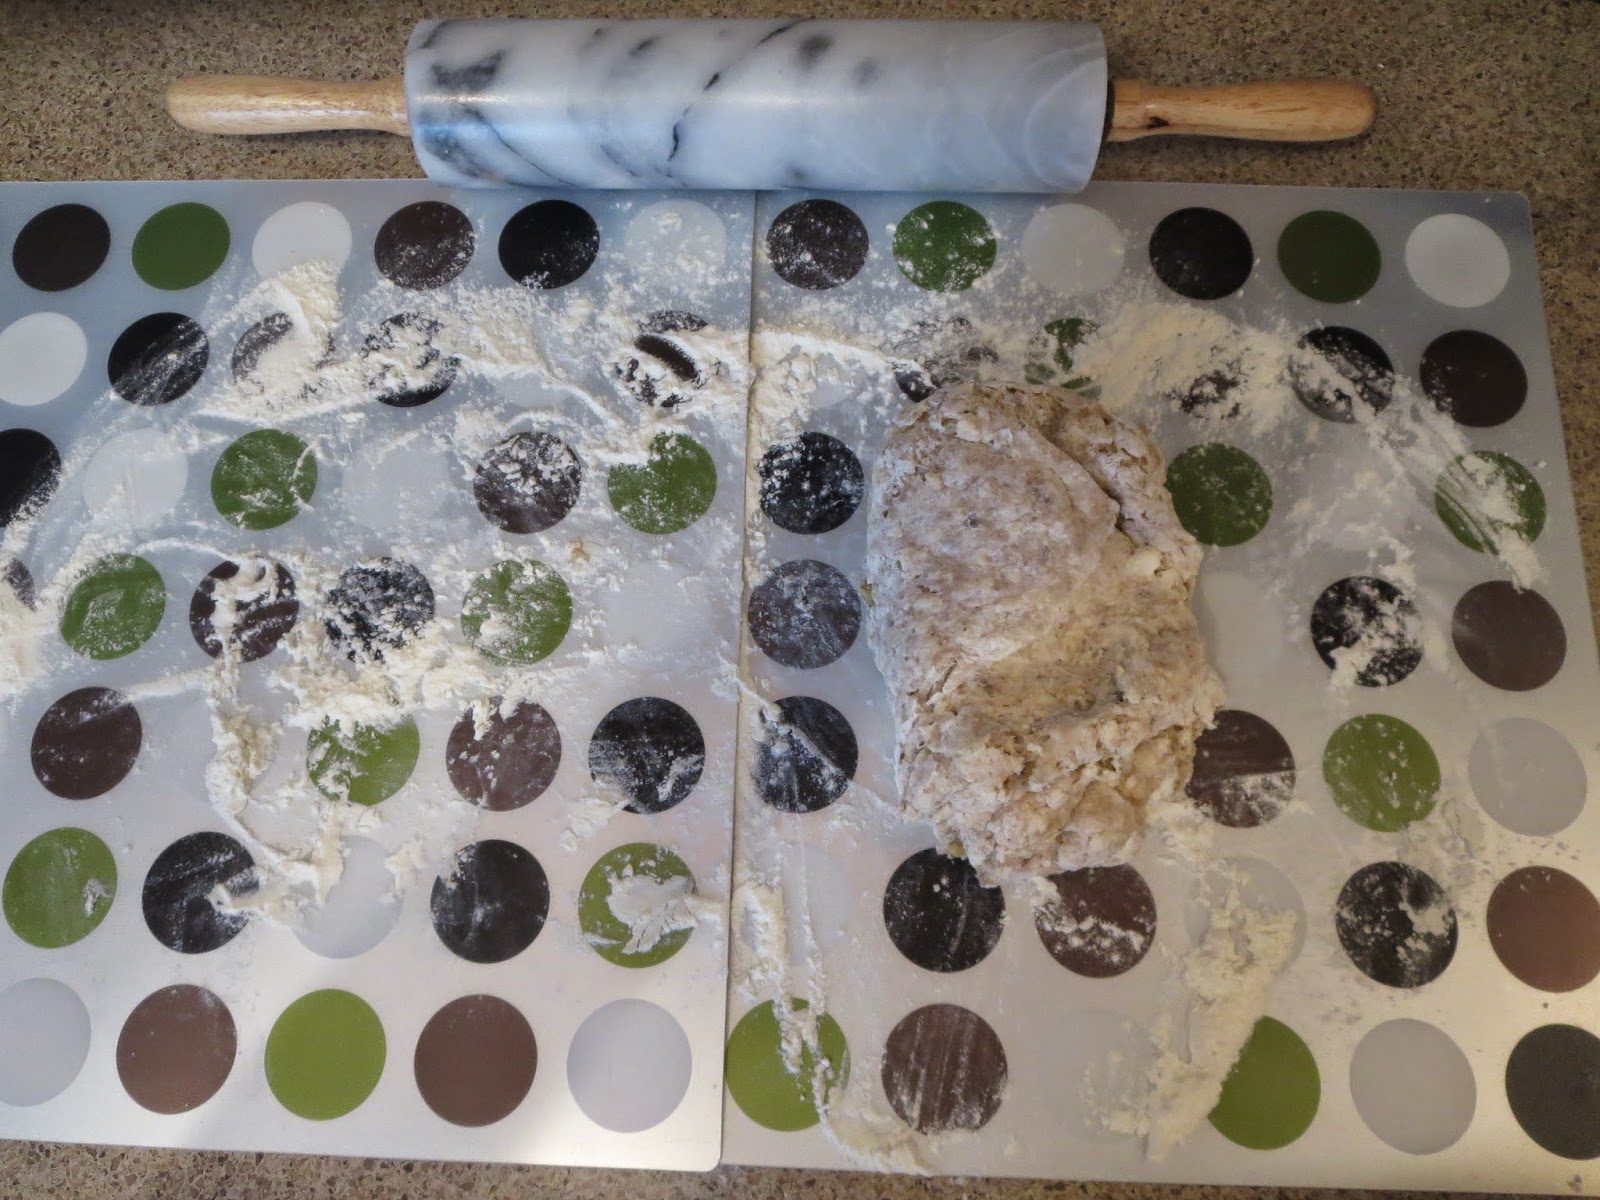
I hate fighting with the mess dough makes on bare counter tops, and I don't have a pastry mat. But I had an epiphany - and it turns out that a couple of placemats make for a great pastry mat in a pinch!


Dust your workspace with flour and dump the dough out on to the flour. Briefly knead the dough, folding it over and pushing the fold into the dough, turning the dough over as you go, about 8-10 times.


Dust a rolling pin (or empty wine bottle with the label scrubbed off) with flour and roll the dough out into an approximate rectangle about 1/2 inch thick.


I don't have any cookie cutters, so I used a mason jar ring to cut out the biscuits. It ended up working perfectly.


Using a cookie cutter or mason jar ring, firmly press out the biscuits from the dough. Remove the formed biscuits, and briefly knead the leftover dough and repeat the above steps to fully utilize the dough to get another round of biscuits from it. I personally only did it once, but if you are feeling particularly ambitious you can probably get 3 sets of biscuits from the dough.


Line a couple baking sheets with parchment paper and lay out the biscuits.


Bake in a preheated oven at 450F for 12-15 minutes. If baking with two trays at a time, switch their positions in the over half way through baking time. Cool biscuits on a wire rack, if available.


Serve plain, or with butter, jam, or preserves. I gobbled mine down with that delicious caramel pear butter, pictured here.